Your first telescope is a wonderful thing—until the tripod shivers in the breeze and the box promises 600x. Most beginner disappointments don’t come from bad optics; they come from a handful of predictable buying mistakes. The good news is that each one is easy to avoid once you know what to look for. Here are the traps that catch new observers most often, and how to sidestep them.
Aperture matters, but it isn’t the whole story
Aperture—the diameter of the main lens or mirror—is the most important specification on a telescope. It gathers light and determines how much detail you can resolve. But the common advice to “buy the biggest aperture you can afford” is incomplete. The better rule is: buy the biggest aperture you can comfortably store, carry, set up, and use.
A 200mm reflector that lives in a closet because it is awkward to move will show you less than a 130mm scope that sits by the door. Portability is not a luxury; it is part of the instrument’s performance. If a telescope takes twenty minutes to assemble and another ten to cool down, you will use it less often. That matters more than a few extra millimetres of glass.
Aperture also competes with other realities. Optical quality, collimation, central obstruction in reflectors, and the steadiness of the night sky all affect the view. A large telescope under turbulent skies will not automatically beat a smaller, well-made scope on a steady night. And for deep-sky objects, dark skies can matter more than raw aperture. Do not let “aperture fever” push you into a scope you will resent carrying.
The mount is half the telescope
A telescope is an optical tube plus a mount. Beginners often spend the whole budget on the tube and accept whatever tripod comes in the box. That is backwards. A weak mount turns a sharp image into a wobbling, frustrating mess. At 100x, a light tap on the eyepiece can set the whole view vibrating for several seconds. Fine focusing becomes a negotiation.
Check the mount before you fall for the tube. Extend the tripod and tap the telescope gently. How long does the image shake? Does the tripod have thin plastic legs or sturdy metal ones? Are there slow-motion controls for fine aiming? Does the mount feel overloaded by the tube it is carrying?
Simple alt-azimuth mounts are intuitive: you move the scope up and down, left and right. Equatorial mounts track the sky but require polar alignment and can put the eyepiece in awkward positions. GoTo mounts can find objects for you, but they add alignment steps, batteries, and menus. A solid manual mount is often a better teacher than a complex one that spends the evening troubleshooting.
What to check before you buy a mount
- Tap the tube gently and watch how quickly the view settles.
- Look for metal tripod legs and a spreader that locks firmly.
- Make sure the mount is rated for the weight of the telescope.
- Try the slow-motion controls; they should feel smooth, not stiff or loose.
- Consider a tabletop Dobsonian if you want simplicity and stability at a low cost.
Magnification claims are mostly noise
“600x magnification!” is one of the least useful claims on a telescope box. Magnification depends on the telescope’s focal length and the eyepiece you use. A telescope does not have a single fixed power. More importantly, there is a practical limit to useful magnification. A rough guide is about 2x per millimetre of aperture under good skies—so a 60mm telescope tops out around 120x, not 600x. Even then, the image will be dim and sensitive to atmospheric turbulence.
High magnification does not create detail. It enlarges whatever the telescope and sky already deliver. If the optics are poor or the mount is shaky, more power just makes the blur bigger. Beginners are usually better served by low and medium magnifications that produce bright, stable views.
Pay attention to the eyepieces included with the scope. A 25mm eyepiece gives a comfortable wide view; a 10mm eyepiece gives more power but less eye relief. Cheap high-power eyepieces can be difficult to look through. A good 25mm and a decent 10mm Plössl will keep you busy for months. Do not rush to buy a giant eyepiece kit before you have used the scope under the stars.
Don’t ignore the accessories—and don’t overbuy them
A few small accessories make a real difference. A finder that is easy to align and look through is essential; a poor finder makes every object hard to locate. A red flashlight preserves your night vision. A star chart or a simple phone app helps you learn the sky. A collimation cap is inexpensive and useful for Newtonian reflectors. A soft cloth and a bulb blower help you keep optics clean without scratching them.
Then there is the safety point that deserves its own paragraph: never point a telescope at the Sun without a proper full-aperture solar filter designed for that purpose. Never use a solar filter that screws into the eyepiece. Looking at the Sun through an unfiltered telescope can cause permanent eye damage.
Resist the urge to buy every gadget at once. Learn the scope first. Add accessories as you notice a genuine need, not because a list on a website says you should.
GoTo and astrophotography can wait
Computerized GoTo mounts are genuinely useful, but they are not magic. They need alignment, power, and a little patience. For a first scope, a manual mount teaches you the sky in a way that a hand controller cannot. You learn where the Moon is, how planets move, and how to star-hop from a bright star to a cluster. That knowledge stays with you.
Astrophotography is another common trap. Visual observing and imaging are different pursuits. A telescope that is excellent for looking at the Moon and planets may not be the right starting point for photographing faint galaxies. Deep-sky imaging usually needs a tracking mount, a camera, and processing skills. If imaging is your real goal, buy for imaging from the start or begin with a camera lens on a tripod. Do not assume that any first telescope will do both well.
Buying before looking through one
Before you order, try to look through a few telescopes in person. Join a local astronomy club, attend a public star party, or visit an observatory open night. You will see how large different apertures really are and how much space they take up. Ask owners what they like and what they would change. Most amateur astronomers are happy to talk about their gear.
If you buy used, inspect carefully in daylight. Check the optics for scratches, fungus, or haze. Move the focuser through its range. Test the mount’s motions. Make sure the tripod locks. A used telescope from a careful owner can be excellent value, but only if you know what you are checking. Buy from a specialist astronomy dealer when possible, and confirm the return policy.
A simple pre-purchase checklist
Keep this list nearby when you compare models:
- Decide what you most want to observe: Moon and planets, deep-sky objects, or a mix.
- Set a total budget that includes a finder, eyepieces, and any necessary accessories.
- Choose an aperture you can carry and store without dread.
- Test the mount for stability and smooth movement.
- Ignore the maximum magnification printed on the box.
- Look through the model, or at least through a similar one, before buying.
- Buy from a seller who can answer questions and accepts returns.
The best first telescope is the one that gets used. A modest, solid instrument under a dark sky will show you lunar craters, the rings of Saturn, Jupiter’s moons, star clusters, and brighter galaxies. Take your time, ask questions, and keep your expectations realistic. The sky rewards patience more than power.
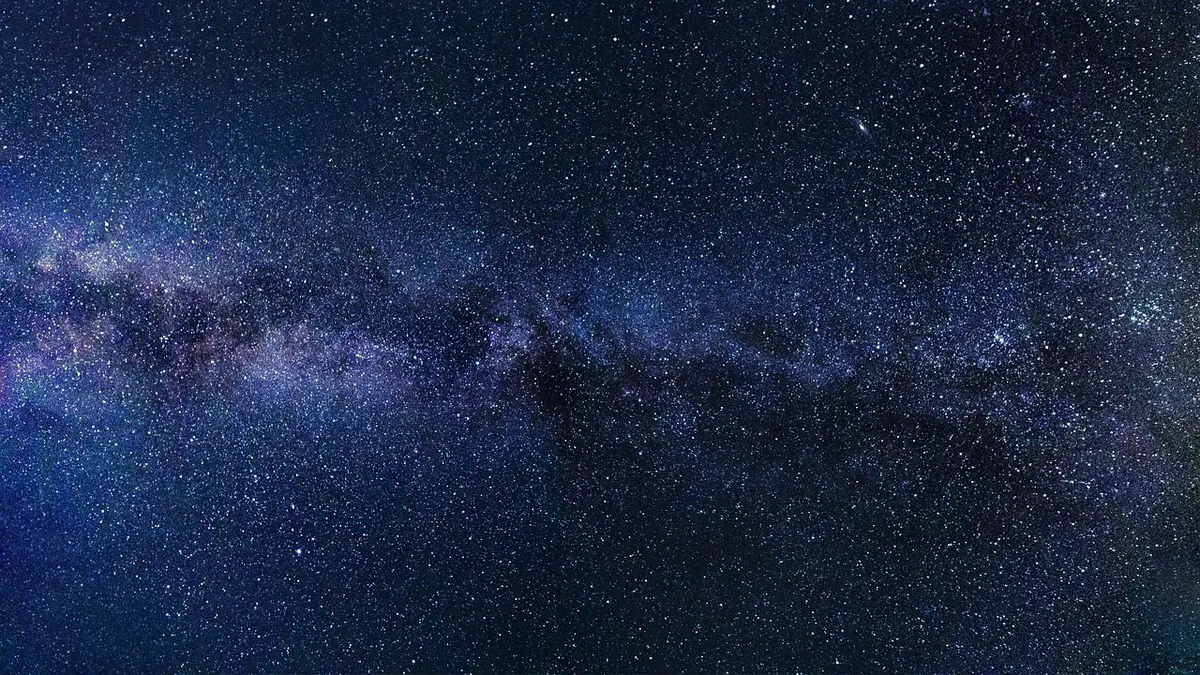
Photo: AntiM_photography / Pixabay