Most disappointing stargazing sessions do not fail in the dark. They fail at four in the afternoon, when the telescope is still in the cupboard and the forecast looks merely okay. Give yourself an hour of daylight and a short list, though, and even a modest instrument in a suburban backyard will show you something worth staying up for. What follows is the routine worth running through before any first session — written for someone who is still working out which end of the finder points at the sky.
Set up while you can still see what you are doing
Everything that is fiddly in the dark is easy in daylight. Do the mechanical work first, then let the sky come to you.
Pick your spot with some care. You want a patch of firm, level ground away from security lights, a glowing patio heater, or a window with the curtains open. Grass is more forgiving than paving if you drop an eyepiece, but paving is easier to level on. Once you have found the spot, mark the tripod leg positions with a dab of chalk or tape. Next time you can set up in two minutes and your alignment will already be close.
Spread the tripod fully, plant the legs, and check the mount is level. If you have an equatorial mount, set it to your latitude and point the polar axis roughly north; rough is genuinely fine for a first night. Then align the finderscope — in daylight, on a distant chimney pot or television aerial. Trying to align a finder on a star at midnight, in the cold, with a torch in your teeth, is one of the small miseries of amateur astronomy, and you can skip it entirely.
Put in your lowest-power eyepiece and focus on that same distant object. If you cannot reach focus at all, you probably need an extension tube or you have left a cap on somewhere. Better to discover that now.
Arrange a small workstation
Set a folding table beside the telescope and put everything on it: eyepieces in an open case, red torch, chart, notebook, flask. Nothing on the ground, where it will either get dew-soaked or get kicked. If your site is damp — and most gardens are — a dew shield on the front of the tube buys you an extra hour or two before the optics fog over.
Red light, and the discipline that goes with it
Your eyes take roughly twenty to thirty minutes to adapt to the dark, and a single white torch beam undoes all of it. Red light is gentler on that adaptation, which is why every observer ends up owning a headlamp with a red mode.
Keep it dim. A headlamp on its brightest red setting is still far more light than you need for reading a chart. Tape over the indicator LEDs on the mount, the handset, and anything else that glows blue or green. If you use a phone or tablet for charts, remember that night mode alone is not enough — a sheet of red film over the screen, at low brightness, is the practical answer.
Then there is the courtesy side. A bright light swept across a neighbour's bedroom window at eleven o'clock will make you unpopular quickly, and local goodwill is worth protecting. Give yourself a white-light curfew: no porch light, no car interior light, no torch aimed anywhere but down.
Dress as though it were ten degrees colder
Standing still in the open after dark is much colder than walking about in the same temperature, and the cold arrives around the time you have finally found your target. Layers, not one thick coat. Avoid cotton next to the skin; a thin thermal base, fleece or wool mid-layer, and a windproof outer shell will keep you out far longer than a single heavy jacket.
- Head and neck: a hat and a scarf. You lose a surprising amount of heat from an uncovered head.
- Hands: thin liner gloves for handling eyepieces and focus knobs, with mittens over the top that you can flip off in seconds.
- Feet: insulated boots. Concrete and paving pull heat out of thin soles very efficiently.
- Seating: a folding chair. Observing while seated is steadier and turns a forty-minute session into a two-hour one.
- Fuel: a flask of something hot, and water too. Dehydration sneaks up on you in cold air.
Have a plan for the sky, and something to read it from
Wandering out with no idea what is visible usually ends with twenty minutes of aimless sweeping and a quiet retreat indoors. Pick three to five targets before you go out, in the order they will be best placed. Check a planetarium app indoors in the afternoon, note where things will be, then put the phone away.
A printed chart, or a laminated one, is still the most reliable tool at the telescope — it does not dim your night vision or go flat. Learn the brightest stars in your patch of sky first and star-hop from them. It is slower than a goto mount and it teaches you the sky properly.
Keep a notebook or a sketch pad nearby. A rough drawing of what you saw, with the date and the eyepiece used, is worth more than you expect when you come back to the same object a month later. And always have a fallback: if the Moon is up, the Moon is a fine target for a first night, and no one has ever exhausted it.
Safety and small practicalities
The most realistic hazard of backyard astronomy is your own equipment. Tripod legs and cables are invisible in the dark, so tape down any extension lead, keep the walking route clear, and always carry a dim red torch when you move around. Know where the step is before you go out, not after.
If you are observing alone, tell someone you will be outside for a while and keep a phone within reach. In summer, use insect repellent and check for ticks afterwards if you have been sitting near long grass. If you use a laser for pointing, never aim it at an aircraft or at people — that is both dangerous and, in most places, illegal. Store the telescope where it will not be knocked over, and if your garden is shared, do not leave optics out unattended overnight.
The pre-session checklist
- Telescope, mount, and counterweights assembled in daylight.
- Tripod level, legs marked, mount pointed roughly north.
- Finderscope aligned on a distant terrestrial object.
- Lowest-power eyepiece in, focus confirmed.
- Red headlamp working, with spare batteries.
- Printed chart and a short target list in viewing order.
- Warm layers, hat, gloves, boots, chair, flask.
- Table set up, cables taped down, area tidy.
After the session: ten minutes that save the next one
When the cold wins, resist the urge to dump everything indoors and go to bed. Cap every optical surface before you carry anything inside. Let the telescope dry if it has dew on it, then case it, and let it warm up gradually rather than parked next to a radiator — condensation inside a tube is a nuisance you can avoid.
Then spend five minutes writing down what worked: which target you found, which eyepiece you used, what you could not find, and what you had forgotten to bring. Restock the bag, recharge the batteries, and put the checklist back on top of the case. The second session is always better than the first, mainly because the first one taught you what to leave by the door.
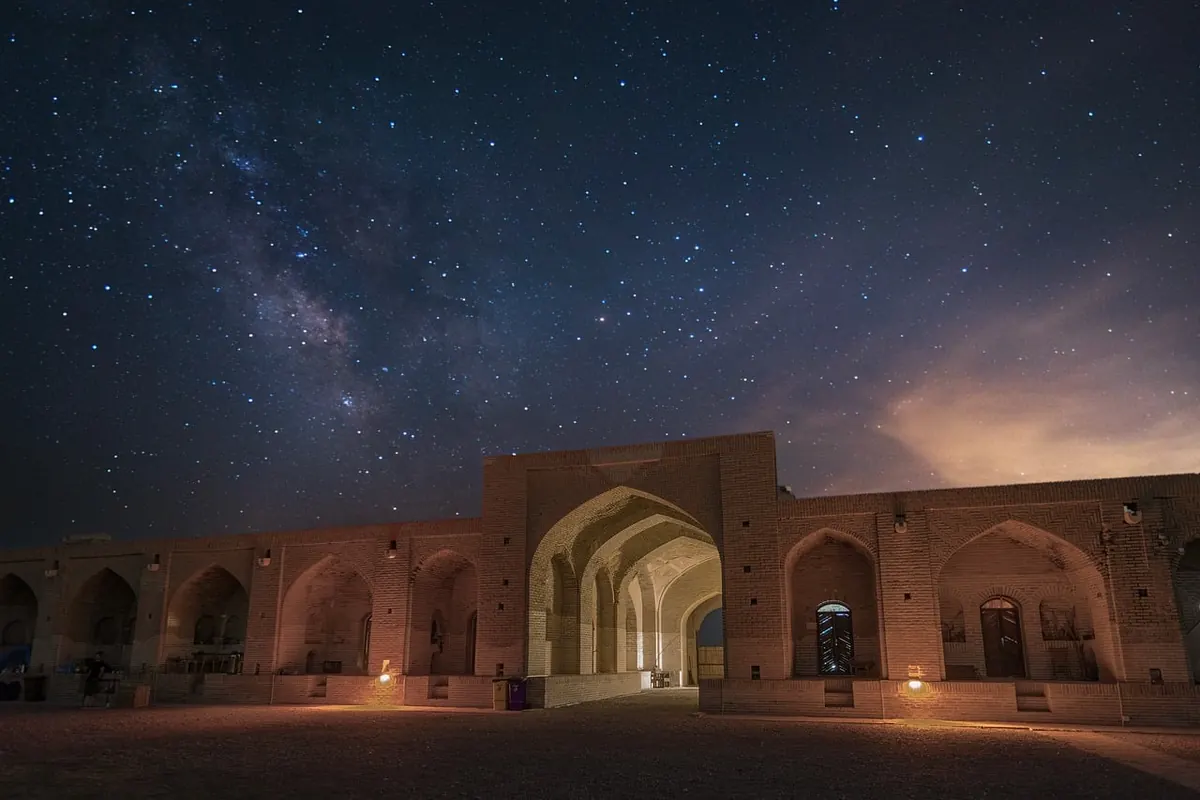
Photo: akbarnemati / Pixabay