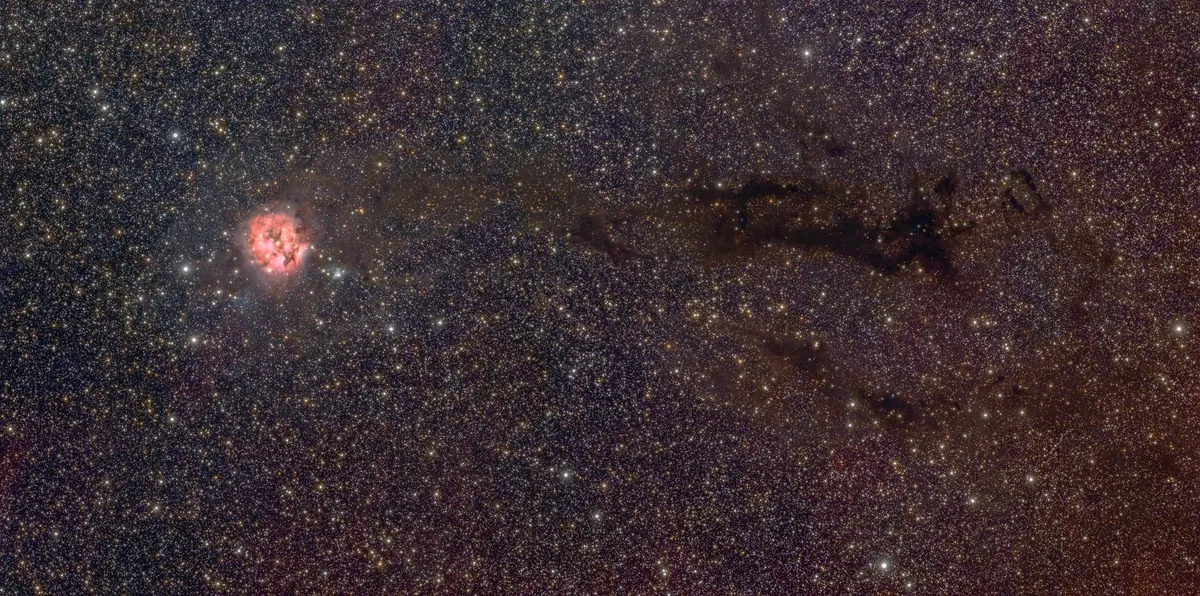
Collimation has a reputation it doesn't deserve. Somewhere along the way, squaring up a Newtonian's mirrors turned into a ritual reserved for people with lasers, machined caps and very steady hands at midnight. The optics are simpler than that. A plastic cap with a hole in it, a sheet of white paper and one bright star will get you close enough that the final tweak takes two minutes and a little patience. If Jupiter looks like a cotton ball and bright stars trail a small tail toward one edge of the field, you're probably one short session away from a noticeably sharper view.
Decide first whether anything actually needs adjusting
Not every soft image is a collimation problem. Before you reach for a screwdriver, rule out the usual suspects: a tube that hasn't cooled to the night air, a night of poor seeing, an eyepiece pushed well past what the atmosphere allows, or a mirror that simply needs a clean. A tube carried straight from a warm room to a cold garden can take half an hour to settle, and no amount of screw-twiddling will fix boiling air inside the tube.
When collimation genuinely drifts, it's usually the secondary mirror that moves. It hangs off thin spider vanes at the top of the tube, it's light, and it takes the brunt of a bumpy car journey. The primary, bolted into a heavy cell at the back, tends to hold its alignment for months. That's worth remembering, because most beginners attack the primary first and make things worse.
The toolkit: one cap, one wall, one star
Everything below uses items you already own. The only thing you may need to make is the cap.
- A collimation cap. A spare eyepiece cap, an old film canister, a pill bottle lid or a plastic bottle cap with a small hole drilled dead centre. It must sit snugly in the focuser with no wobble.
- A bright surface. A white wall, a sheet of paper taped to a door, or a light-coloured fence. Anything flat and evenly lit.
- The keys that came with the telescope. Your secondary holder and mirror cell use ordinary screws; the tools shipped in the box are the right ones.
- A bright star. Polaris is ideal in the northern hemisphere because it barely moves while you work.
Making the cap in five minutes
- Take a spare eyepiece cap or a plastic bottle cap and mark the centre with a ruler and a fine pen. Measure twice; a hole that sits a millimetre off will mislead you all evening.
- Make a 1.5–2 mm hole with a hot needle held in pliers, or a small drill bit turned by hand. Keep the edges clean.
- Wrap electrical tape around the outside until it fits the focuser without rocking. A loose cap gives a false reading every time.
- Optional but useful: tape two thin threads across the inside face at right angles to make a crosshair. That turns your cap into a poor man's sight tube and makes centring the secondary much easier.
Step one: centre the secondary under the focuser
Work indoors or in daylight, with the tube level and pointing at your white wall. Take out the eyepiece, drop the cap into the focuser and rack it out a little. Look through the hole.
You should see the secondary mirror as a bright oval, and inside its reflection the primary mirror with its three retaining clips. What you want is the secondary sitting neatly in the middle of the drawtube, with the whole primary visible inside it and the clips showing evenly around the edge.
Move it, rotate it, then tilt it
Adjust in that order; doing it backwards is the single most common reason people spend an hour and end up worse off. First loosen the central screw on the secondary holder a turn or two — hold the holder with one hand so it can't drop — and slide it along the tube axis until it looks centred. Then rotate the holder until the reflective face points squarely at the focuser; the reflected primary should look round, not squashed or shifted to one side. Only then touch the three small tilt screws, turning them in tiny increments until the primary's reflection sits in the middle of the secondary.
On fast telescopes (f/5 and below) a properly set secondary often looks slightly elliptical or offset away from the focuser. That's by design. Centre the reflection of the primary, not the outline of the mirror, and don't force the shape to look pretty.
Step two: aim the primary with the same cap
Now look at the reflection of the primary. Most mirrors carry a small ring or dot at their centre from the factory. Through the cap you'll see that mark and, near it, the bright dot of light coming through the hole. Your job is to bring them together: turn the adjusting screws at the back of the cell until the centre mark sits directly under the reflected hole.
Loosen the locking screws a quarter turn first if your cell has them. Then work in eighths of a turn, alternating between screws rather than cranking one — think of it as nudging the mirror, not steering it. When the mark is centred, snug the locks gently and check again, because tightening can shift things slightly. Snug is enough; a mirror held too firmly can pinch and produce triangular star images.
If your mirror has no centre mark
Don't put a sticker on the coating unless you're confident — and never press on the surface. Instead, cut a paper ring to the diameter of the mirror, fold it in quarters to find its centre, and hold it just in front of the mirror cell while you look through the cap. It gives you a reference without touching glass. Failing that, skip straight to the star test below; it needs no marks at all and will get you there on its own.
Step three: finish under the stars
Daylight alignment gets you close; the sky gets you precise. Let the telescope cool for twenty to thirty minutes, then point it at a bright star high overhead and use your shortest eyepiece — an exit pupil around 1 mm or smaller. Defocus slightly, first one way and then the other, until the star becomes a small bullseye of rings.
In a well-collimated scope those rings are concentric and evenly bright, and the dark shadow of the secondary sits in the middle of the pattern. If the bullseye is lopsided, with the shadow pulled toward one side, make a very small adjustment to one primary screw, recentre the star and look again. Use only a little defocus: heavy defocusing hides the errors you're trying to see, and the most sensitive test is barely out of focus at all.
If the rings boil and shimmer, the atmosphere is fighting you. Wait for steady moments rather than chasing the image, and don't collimate on a night when the seeing is obviously poor.
Mistakes that quietly undo the work
- Overtightening screws. Pinched optics show up as triangular stars and a mushy focus. Firm finger pressure is plenty.
- Tilting before centring. If the secondary isn't in the right place, no amount of tilt will fix the view.
- Confusing locks with adjusters. If a screw turns freely and nothing moves, it's a lock. Back it off before adjusting.
- Working in the dark. Daylight shows you the geometry; a torch on a black tube shows you reflections and glare.
- Chasing perfection on a warm tube. Tube currents mimic bad collimation. Let the scope settle, then judge.
A small routine worth keeping
Once your Newtonian is aligned, it stays aligned for a long time. A solid-tube instrument carried in the back seat usually needs nothing more than an occasional glance; a truss-tube Dobsonian may need a touch-up every time you reassemble it. Build a two-minute habit: cap in the focuser before the first target, star test at high power on the first bright star you find, and a small tweak only if the bullseye is clearly off. Keep the screws snug, travel with the tube padded and the mirrors protected, and you'll spend your evenings looking at the sky rather than at the back of your telescope.
Photo: Scott Lord / Pexels